
Thursday, July 28, 2011
Happy Birthday, Courtney!
This is another card for a friend of Katherine's. My instructions for this card were: No pink. She's not into girly stuff. She likes blue and green. I went to my Silhouette library and pulled out a birthday lace file. It had the year '10 in it, but that was easy enough to edit. I used the offset feature of my Silhouette to make a mat from navy blue cardstock. Unfortunately, I simplified it a bit too much and it's a little off in a couple of spots. I don't think anyone will see them unless that's specifically what they're looking for. The piece is layered on some Basic Grey paper from the Motifica collection (I have had it for ages) and then again onto navy cardstock. I used a QuicKutz die and some white CS to provide some writing room on the back, since the card doesn't open. I added a border strip from KI Memories Over the Rainbow at the top and some ribbon (Michael's). I finished with some light blue rhinestones to add sparkle.

Wednesday, July 13, 2011
Last post for today - Happy Birthday Brittany!
I think I am safe giving you all an advance peek at this card - Brittany is a friend of my daughter's who I am pretty confident does not read my blog. Brittany - if you ARE reading this - LOOK AWAY!
Katherine loves for me to make birthday cards for her friends, because she can tell me what colors she wants, or what theme and I just go to town. The specifications for this card were: hot pink and black. I know that Brittany is a really "girly" girl, and that I could go to town with her card.
I started with a file from the Silhouette store and added a border to it so that it could act as a frame for my card front. I cut that in black and layered it over a hot pink card base. Then I cut the shoe (also from the Silhouette store) and backed it with some silver holographic paper. I shadowed it in pink to make it stand out from the rest of the card a little more, and popped it up with some foam tape. I added some rhinestone accents and the card was done.
I lined the envelope with some deep pink paper, and cut Brittany's name from black cardstock. I had originally intended to use the black as a shadow and cut the name from the same silver paper I backed the shoe with, but the font (Curlz MT) was just too ornate to cut well at that small a size. I ended up using a metallic silver pen instead. I think it looks great. I added some hot pink accents with a Sharpie marker.


Making your own Print and Cut Designs
By now, I am getting more and more adventurous with my Silhouette machine. I love to experiment and see what I can do with it. The possibilities seem endless. For this layout, I took a regular Cut Only design from the Silhouette store and turned it into a colorful Print and Cut design.


See the ticket border at the bottom of the layout? That's an Echo Park design from the Silhouette store. It's not a print and cut. I loved the look of it, but I did NOT want to cut all of those tiny pieces separately and glue them together, so I decided to play around a bit with the file and see if I could color it myself. As you can see - it worked! I did the same thing with the two tabs on the pictures. I won't go into detail here explaining how I did it - if you want more information, let me know and I'll be happy to share with you. This is one of the reasons I love my Silhouette though - I would not be able to do this on my Cricut.
Silhouette Print and Cut Feature
Once I had completed my first Silhouette-designed page, I was ready to try something a little more challenging - using the Silhouette Print and Cut feature. I'm so happy with the way this page turned out! My style is definitely being influenced by one of my favorite Garden Girls at Two Peas in a Bucket - Nichol Magouirk. I watch her "From Start to Finish" videos on You Tube, and love, love, LOVE the way she manages to use so many different papers and embellishments on her layouts while still keeping them from looking chaotic or cluttered. (It doesn't hurt that she's a Silhouette fan too!)
I'm not happy with these photos - they were really dark, and I was only able to lighten them so much. Unfortunately, they were the only ones taken on my birthday, so I just went with what I had. The balloon and tickets, as well as the PARTY bingo card (you can only see part of it) were all print and cut Silhouette designs. The page title was inspired by the saying on one of the balloons Katherine bought me - you may be able to see it in the picture. I cut the title and shadowing from one of my TTF files.
The balloons also inspired me to use the hot air balloon as a fun accent. I love vintage design, and since I am getting to be somewhat vintage myself, I thought it was appropriate. Hope you like it!

Scrap Happy - again!
As a paper crafter who enjoys all kinds of paper crafts, I tend to go back and forth with stamping and scrapping. Either I am stamping a lot and hardly scrapping at all, or vice versa. Lately, I seem to find myself in a scrapping mode. I've probably told you that I am loving my Silhouette - it seems to have sparked a whole new interest in scrapping for me. I saw a tip from a member of one of my groups about planning your page out right on your Silhouette screen. You can import your pictures and size them, and add your die cut embellishments so that they are perfectly sized for your layout. This method works really well for me, since it lets me play with the arrangement of my page elements and re-size things as many times as I want to before I actually print or cut anything.
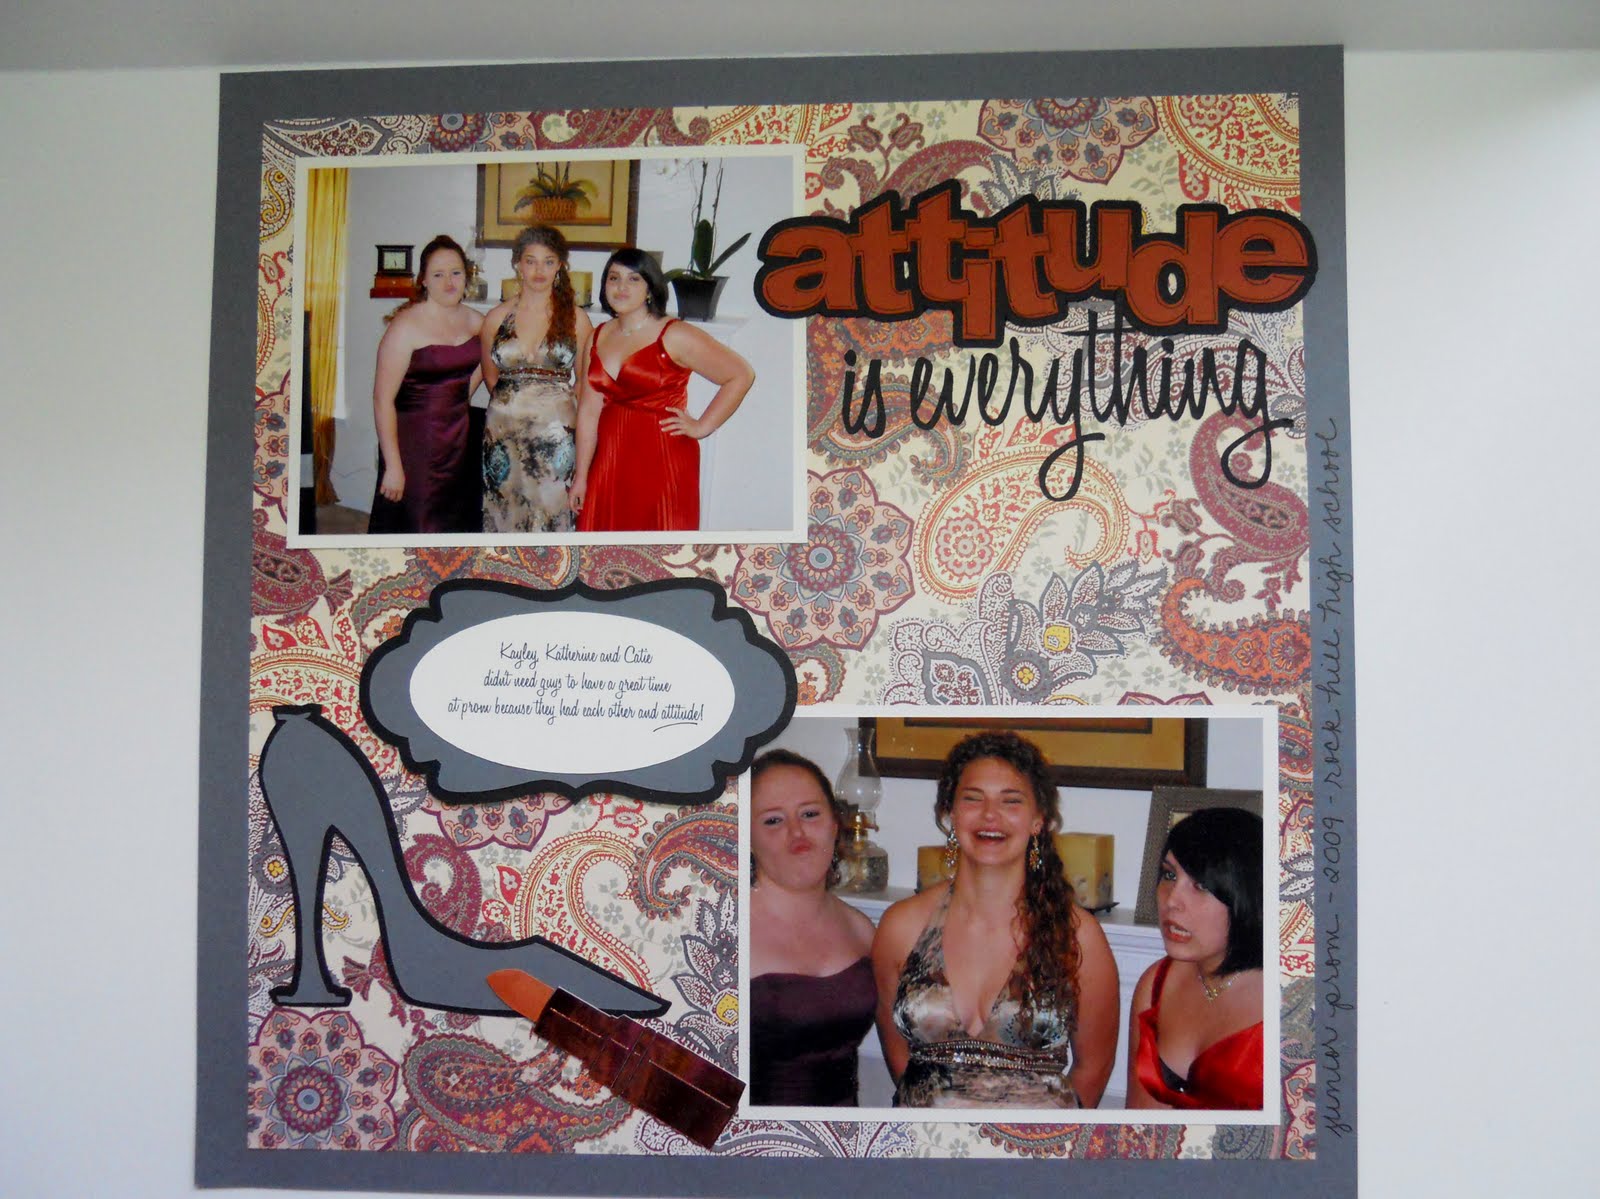
This was the first layout I planned using the Silhouette software. It's pretty basic - I used a title and some page accents from the Silhouette store. Not too shabby for a first effort.

This was the first layout I planned using the Silhouette software. It's pretty basic - I used a title and some page accents from the Silhouette store. Not too shabby for a first effort.
So much to catch up on!

This first picture is a card I made for a friend of my daughter's who got married this summer. I used a file from the Silhouette store to cut the dress, and then embossed the skirt with a Sizzix for Stampin' Up! embossing folder. I embellished with some pearls and ribbon, and lined the envelope with patterned paper. I'm sorry I can't tell you who it's from - I have forgotten and have none of the paper left, unfortunately.
Stay tuned - more to come!
Thursday, April 28, 2011
Birthday card for Shelly
I know... the name of this blog is Everyday Stamper, but it's been ages since I actually posted any pictures of things I've stamped. This post is no exception. There is NO stamping at all on this card, which is amusing to me, since it's for my friend Shelly who is a Stampin' Up! demonstrator. There's also NO Stampin' Up! product on it except for the dimensionals. Sorry, Shell!

Shelly is really hard to make a card for because she's an awesome cardmaker herself. When I make a card for her, it has to be something special. I knew I wanted to use my Silhouette machine because I'm having so much fun playing with it and testing the limits of what it (and I) can do. When I saw Jen Gallacher's guest post on the Silhouette blog, I knew I had found my inspiration in the scrapbook page she had created. I also knew that the design would need to be scaled down to work within the size limitations of a card.
With a little help from this video of Whimsical Wendy's (no relation - although I WOULD love to craft with her!) I was able to modify my background to add a frame around it, and create the frame for my sentiment block. All of the other pieces were easy - just a matter of scaling them to the size I wanted.
I'm quite pleased with my results, and hope you enjoy the card!
Subscribe to:
Posts (Atom)


